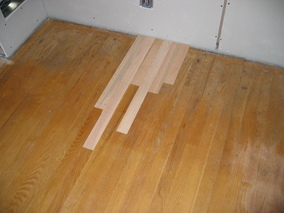
We had been planning to remove the carpet in the living room and
dining room eventually, but the priority of this project was bumped up
when we found our oldest cat taking advantage of a corner of the
dining room instead of going upstairs to the litter box (ick!). Here
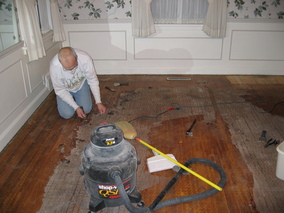
you can see the spot where I had already pulled up a small portion of
the carpet and pad. I scrubbed and sanded it to see how it would
clean up. Not too bad, though I'm not sure that all of the stain will
ever come out. Oh well, at least it is small and along the wall.
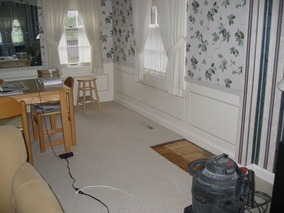
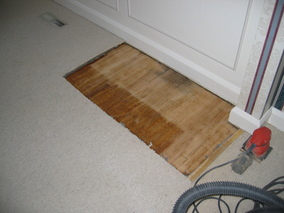
Getting the carpet, pad, and tack strips up was the easy part. Under
all of this was some cheesecloth-like material and sticky goo that was
firmly affixed to the floor. It turns out that this was probably the
original carpet pad. Some parts were easy to remove, but the spots in
high traffic areas around the dining room table were much harder.
Considerable effort was require to scrape up little bits of this
goop. At first we tried to clean the remaining residue with mineral
spirits, but that just didn't work as a solvent for this stuff,
whatever it is. In the end, we found that Murphy Oil Soap and a
heavy-duty scratcher pad was the best thing.
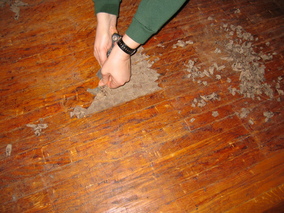
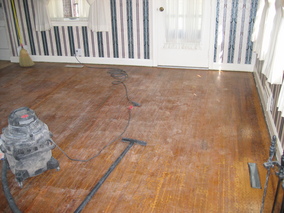
The good news is that most of the floor is in good shape. It won't
require much repair, just a good sanding and refinishing.

One last look at the living room carpet.

It was no surprise that under the modern pad, we found some more of
the ancient pad, again mostly stuck firmly to the floor.
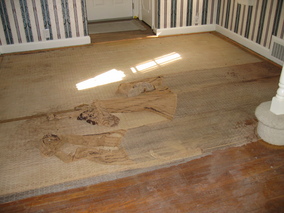
There was quite a transition from the living room floor up to the
level of the ugly wood floor in the entry way.

Modern pad, ancient pad, goo. The tape strip in the original pad
covered a line of staples (maybe two generations) with staples every
few inches. Was that really necessary?
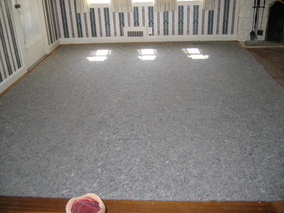
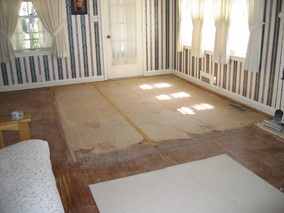
It took most of two days to get the pad and goo scraped up and we
still have a lot of scrubbing to do to remove the rest of the
residue. Ugh.

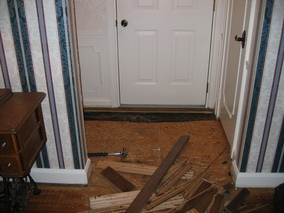
I decided the ugly wood floor in the entry way had to go. Under it, I
found a layer of tar paper, some quarter inch plywood stapled
approximately every six inches to the floor. It looked like there had
been some tile with small stars in the center of each tile. Wild!
And so many staples. Insane. The plywood couldn't have possibly
moved. Three or four staples for the entire entry way would have been
plenty.
There is still one strip of the ugly wood floor under the threshold of
the door. It leaves quite a bump to step over. I don't know what we
can do about that without replacing the door. Since the current door
is metal and not very appealing (I think its only redeeming quality is
that it has a nice magnetic seal), I guess we will eventually replace
it. But eventually may turn out to be a long time from now.
I was worried that the original floor would be damaged, but it is in
pretty good shape.
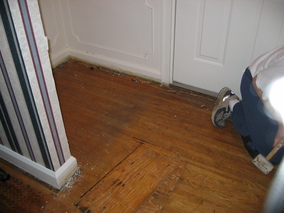
The wood floor in the den had to be patched where openings for the old
floor vents had apparently been hacked out with stone chisels. I
removed all the boards that were cut or damaged and slid some new
boards in place. The long boards in the first two pictures have the
groove facing the wall, so I let most of them float and then face
nailed the last row. About half of the short boards shown in the last
picture had to be face nailed. I managed to get a late start on this
project and stretch it over two days.


