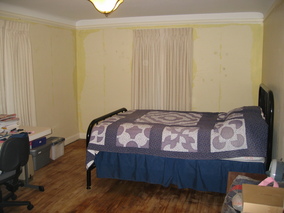
It's only been 19 months since we started working on this room and we
finally have paint on the walls!
It's hard to tell from the pictures, but the color on the walls is
different from the color on the ceiling. Although I'm sure the colors
in the pictures are not completely accurate, my perception of the
color changes dramatically depending on the light. In the daytime,
the ceiling is obviously lighter than the walls and looks like the
cream color on the paint chip but at night in artificial light, and
depending on whether the ceiling is in direct light or partial shadow,
it can appear to be almost the same color as the walls, or even darker
and somewhat beige.
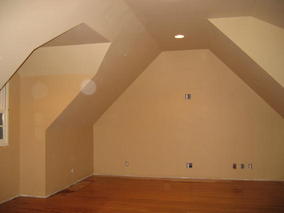

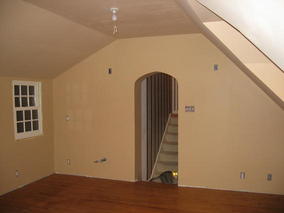
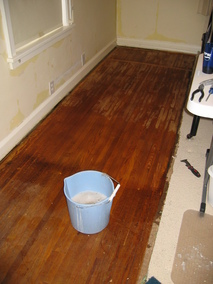
As you can see, I've also cleaned the floor and moved all the tools
out. Progress!
Now all we have to do is refinish the floors, install the trim,
build(?) and install cabinets and a sink, move furniture in, and
probably a hundred other things. Maybe we will be done in another 19
months.
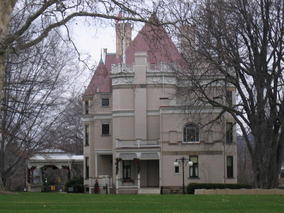
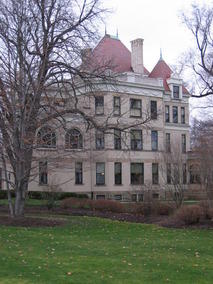
We took a tour of
this modest house
today. Amazing woodworking in all the rooms we saw. It makes my
little room with the bare bulb and pull chain look a little sad. Ah,
to have been super-rich in the Victorian era.
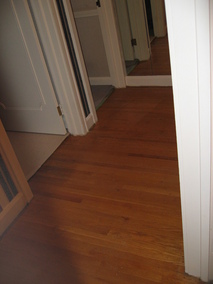
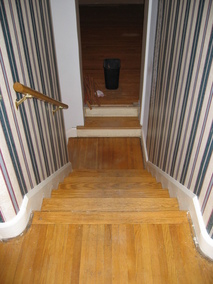
Today we removed the rest of the carpet from the stairs and second
floor hallway.
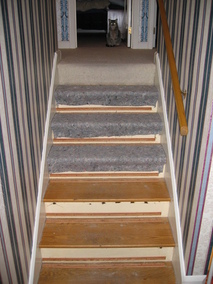
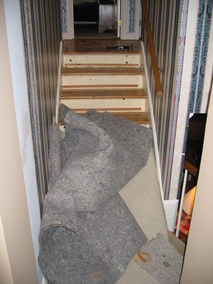

Here's one cat who won't be too happy with this change as she loved to
lie on the stairs and scratch the carpet covering the risers.
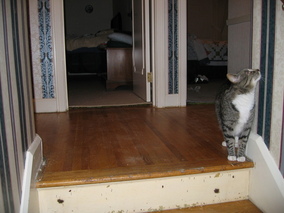
Happily, the floor and stair treads are in pretty good shape.

A challenge for the future will be recreating the curved shoe moulding
around the corners at the top of the stairs that was removed when the
carpet was installed.
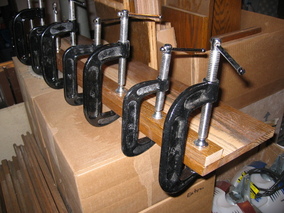
Yesterday, I glued some oak together for the floor in the den. This
board was a shelf in the old built-in bookshelves that were in the
room when we moved in. Today I trimmed it up a bit, added a groove in
the back side to match the existing flooring, and rounded over the
front edge (that's the glued-up section which needs to be thicker than
the 3/4-inch floor so that it looks more like a stair tread). I also
sanded it some more to remove more of the stain and installed it. I
would have used a new board but I haven't found a hardwood supplier
nearby yet and everything at the BORG this wide was glued up. At
least this old shelf is a single piece of wood.
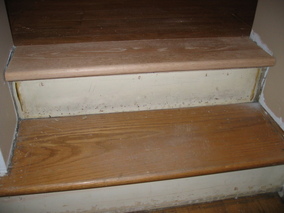

I think it will match reasonably well with the rest of the floor once
it is all refinished. Speaking of that, I'm running out of legitimate
excuses for not refinishing the floor in this room, so I guess I'm
going to have to rent that floor sander soon.
One last look at the wallpaper in the living room before it
disappears.
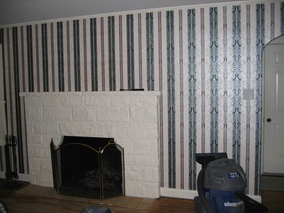
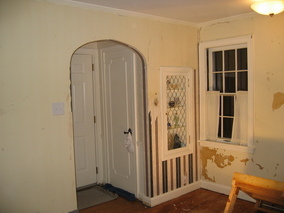
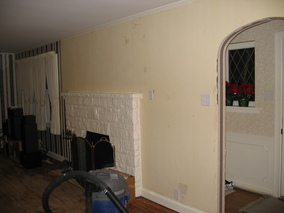
While removing the wallpaper we uncovered another electrical box
stuffed full of newspaper and covered with joint compound with live
wires still inside! This makes five we've found now. This one
had a portion of the comics page from the local paper from January 30,
1965. It's been this way for around 42 years and the house hasn't
burned down yet, so I guess it shouldn't bother me, right?

I also had an urge to do a little demolition today and found myself
ripping up the hearth tiles. They looked OK before, but were too high
without the carpet.
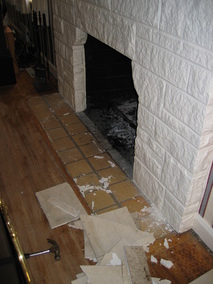
I'm guessing these ugly tiles I uncovered are original. I pulled up
two of them on the end and found some mortar and gravel(!)
underneath. Now, the odd thing is that this part of the first floor
is over the basement, and there is just wooden subfloor under the
gravel. We're thinking about some kind of slate tiles for the new
hearth. I guess we'll be cleaning all the tile, mortar, and gravel
out and replacing it with some cement backer board under the new
tile.

Every room in the house had wallpaper on the walls when we moved in
and we are getting rid of all of it, so I expect there will be many
more entries with titles like this one. Today we removed more
wallpaper in the living room in and in the stairway. We still have
some cleaning to do, but we are making progress, even if it is slow.

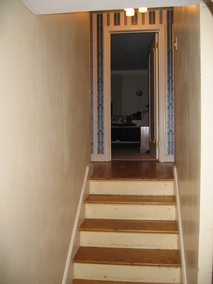
I built this handy platform to use while working in the stairway.
The time spent building it was definitely worth it as this makes for a
nice stable surface to work from. I put non-slip shelf liner on the
bottom of the feet to keep it from slipping off the stairs.
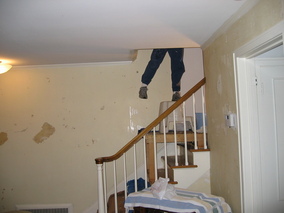
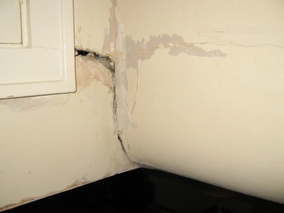
We uncovered a little damage. I think this is pulling away for the
same reason I think the ceiling in the living room is sagging. My
guess is that when the master bath was added, someone cut some floor
joists to run the drain line for the bath, and didn't do a real
brilliant job of it. I think this picture makes it look worse than it
really is, but it is something that we will need to take care of. I
hope it can wait until we remodel the master bath and have to open up
the floor anyway.
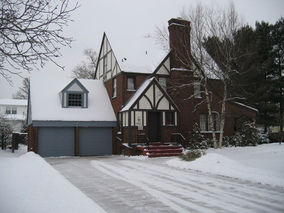
After a really warm December and early January, we are now
experiencing something approximating a real winter.
So with nothing better to do, we removed more wallpaper, this time in
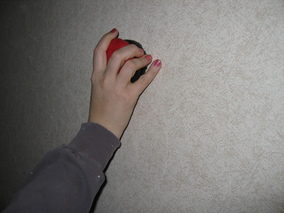
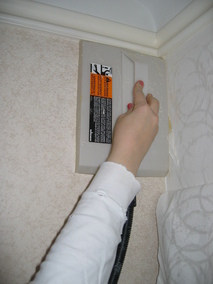
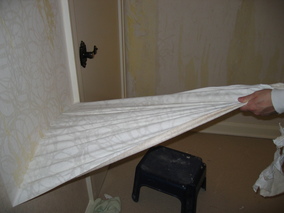
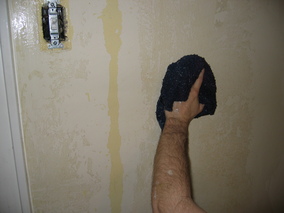
the second bedroom. We've found we get decent results by scoring,
steaming, removing the top layer of paper, steaming some more and
scraping the last bits of paper off the wall, cleaning with dishwasher
detergent and water, scrubbing the glue layer with a scratcher pad,
then a little more cleaning. Finally, we wipe the walls down with a
dry towel. It's a lot of work and a pretty slow process, but it gets
all the glue off so the walls are completely clean and ready to be
repaired and painted.

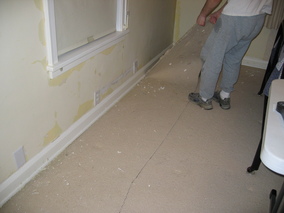
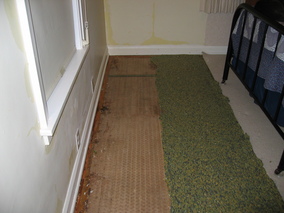
I couldn't resist the temptation to remove more carpet and find out
what the floors look like.
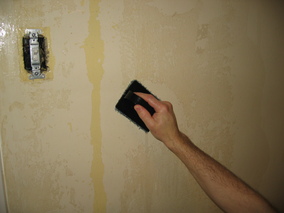
Note the line of joint compound connecting the two wall plates in the
first picture above. The one in the center is an original outlet and
the other two are add-ons. I haven't chiseled it out, but this wall is
solid brick and tile, so I'm guessing that the wire that connects the
new outlet box to the original is just barely buried in the joint
compound. I think the wire to the box on the left is running behind
the baseboard trim. Ugh. Well, I disconnected these add-on boxes
shortly after we moved in, but this kind of thing bugs me still. I
don't have a picture of it, but in a frame wall on the other side of
this room, there is evidence of another job like this where there are
small patches every 16 inches or so, where the wire was obviously
fished around the studs, coming near to the surface to go around each
one. Well, I guess that's faster and easier to do than cutting out
enough plaster to actually drill some holes through the studs and fish
the wire through them.
Anyway, back to the carpet removal and discovery operation. Once
again, we found the original pad stuck to the floor. This pad seems
to be some thin foam backed with something similar to cheesecloth. The
foam has disintegrated, mixed with the finish on the floor (wax?) and
affixed itself with varying degrees of stickiness depending on the
amount of traffic and pressure. Pointy furniture feet make little
black spots of goo and high traffic areas make wider paths of goo.
Still, not as bad as what we found in the
dining room floor.
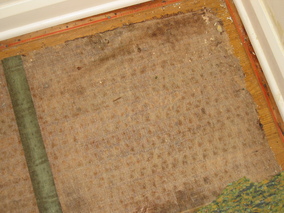
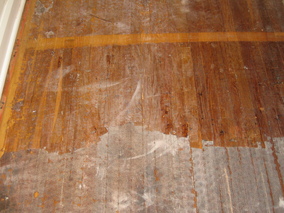
After some scraping and scrubbing with Murphy Oil Soap (it's the
best thing we've found to cut this tar-like residue) the floors are
looking a little better, though once they are dry it is clear they
need refinishing—there is essentially no finish left at this
point as the soap and scrubbing has stripped the wood bare in most
places.
Can anyone tell me why a carpet pad must be so aggressively stapled
down? I mean, is it really going to slide all that much with if it
has staples every six inches or so instead of just about every two
inches?

By Saturday night we had all the wallpaper down, the walls were clean
and the carpet was all up.
I finished cleaning the floor in the second bedroom today. After a
few more hours pulling staples, scraping, and scrubbing, it is
starting to look more like the rest of the house—chipped plaster
and floors in need of refinishing (and to think we had such a nice
house when we moved in). But seriously, even though there is still
some wallpaper to remove in the closet in this room, I'm so happy that
we are this much closer to being able to get some paint on the walls
and make the floors shine.
