First thing this morning, I touched up the paint on the trim boards
and painted over the nails in the interior of the panels. Once the
paint was dry, I removed the top level of the scaffold. Then we
installed two full-size siding panels, one on either side of the
window. We were able to get them up the stairs and take them out the
window onto the platform, then lower them down into the gap between
the platform and the house. I screwed some 2x4s to the lower platform
perpendicular to the house to support the panels while we positioned
them.
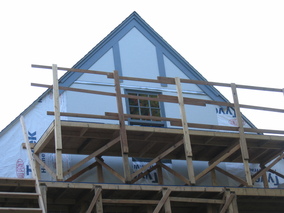
Today we put up two more panels. We cut them in the garage so they
only weighed about 55 pounds. Having the corner cut off and reducing
the weight a little bit made them easier to get up the stairs and out
the window.
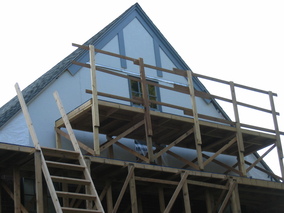
Today I put up the two small triangular siding pieces, caulked all the
joints, and painted some more trim boards. Then we installed the
horizontal trim board above the window. Ah, finally it feels like
progress.
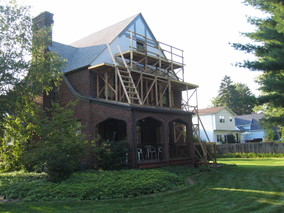
Today I put the second coat of paint on the rest of the trim boards
that we will need and installed the siding panel under the window.
Then we installed the trim boards under the edge of the roof.

I spent most of today cleaning up the attic space. I also filled the
nail holes and caulked the trim under the edge of the roof.
I also cut the floor boards back from the edge of the room. We will be
pulling up all the floor boards soon to reinforce the floor, but I
needed some room now to work in these spaces as I put up the trim on
the outside. In one stud space, I found the bee hive that was active
last year. I don't know what happened to the bees this year, but they
have not been back.
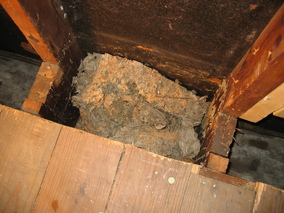
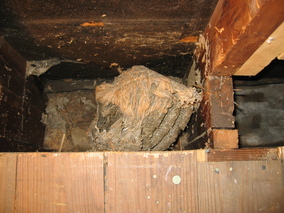
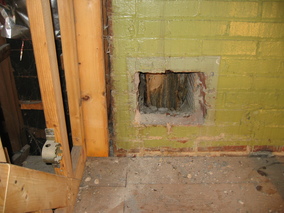
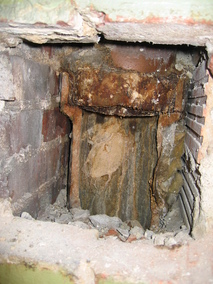
In the next space over, we found this. Is this also from bees? The
debris at the bottom was about two or three inches thick.
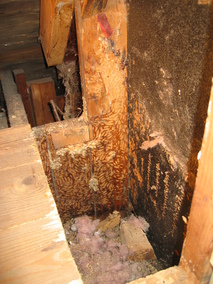
Yuck. But it is all cleaned up now.
Today we installed almost all of the remaining trim boards, including
the lower horizontal trim board at the bottom of the siding. The only
thing that's left is one trim board below the window, but we can't get
to that one until we remove the second level of the scaffold.
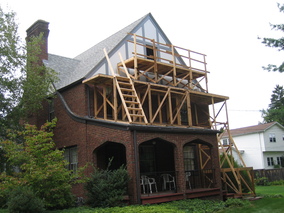
Today I touched up the paint on the trim boards above the second level
of the scaffold, then we removed the second level and installed the
last piece of trim under the window. By the end of the day all the
nail and screw holes have been filled and painted.
Next we can remove the lower level of the scaffold and clean up the
roof, then paint the trim around the porch and replace the gutter and
downspout. The list seems endless.
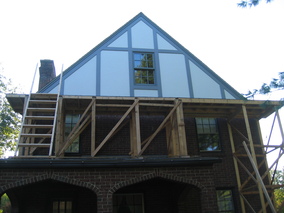
Here's a look at the other end of the house for comparison. It's
tempting to forge ahead and try to also do this job before winter, but
I'm afraid that it will have to wait. We just have too many other
little projects to work on that have been put off for a long time
now. I think it will be better to catch up on those and then attack
this problem first thing next spring.
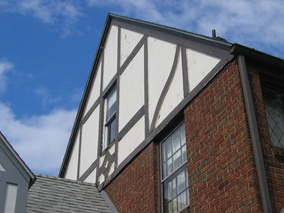
Yesterday we removed most of the scaffolding, but by the time we were
finished it was too dark for pictures. Here's the current status this
morning. We will try to remove the tower and clean off the porch roof
later today.
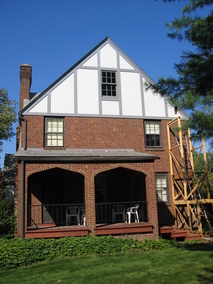
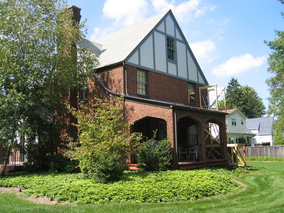
Here are before (way before, when we were first looking at the house
more than four years ago) and almost after (we still have to take down
the tower, fix the gutter, and do some painting on the side porch)
shots. I didn't realize how much the little trees and shrubs have
grown. Even the Aspen tree by the front door is much larger and I
thought that was mostly mature when we bought the house.

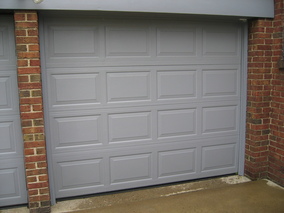
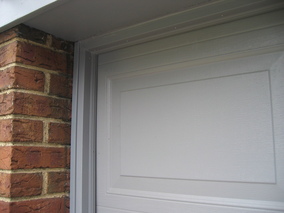
We trimmed out one of the garage doors today.
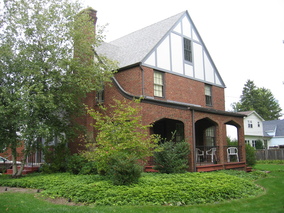
We also removed the rest of the scaffold.
Today we poured a small concrete step (to nowhere!) in one corner of
the the garage to cover up the remains of the closet that we took out
a few years ago. Sorry, no pictures.
Just as I was finishing up for the day, the remains of Hurricane Ike
blew through town and our power went out.
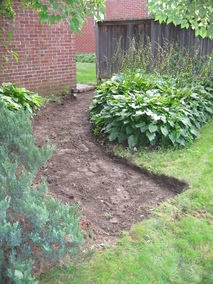
The power was still out today, so I worked on things that did not need
electricity, like pulling weeds in the yard and preparing for the new
concrete walkway that we're planning to pour in the back yard.
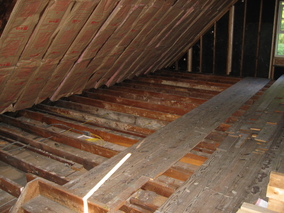
The power was still out today, so I started removing the subfloor in
the attic, which is something else I can do without power. Here's
what it looked like at the end of the day. It was a lot of work to
get this far, as many of these tongue and groove boards were toenailed
throught the tongue and also face nailed with two nails in nearly
every joist. Ugh.

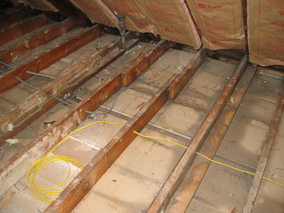
Check out this classic framing job. All of the other joists are
complete, but these are short. I guess they figured they could get
away with it since it is over the closet. Brilliant!
I stripped the paint off of the side porch trim and also pulled the
gutter off, then put a first coat of paint on the boards. Sorry, no
pictures.
Today I replaced the brick mould trim on the side porch and started
reconstructing the trim under the ski-slope roof detail. I was
worried that I would end up pulling the shingles off since they are
really mostly supported by the trim boards here. But I lucked out and
was able to remove the trim boards without too much damage to anything
else.
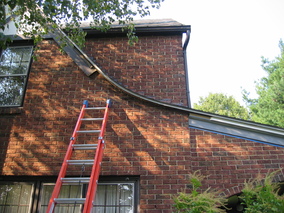
By the end of the day we had the curved part of the flat trim board
up, and a bunch of kerfs cut in a peice of brick mould so that we can
bend it around this curve. It will go up later, after the siding next
to the chimney is replaced, and the upper flat trim board is in place.
It was a lot of work to get these cuts made and to put the boards up.
I installed them with anchors and short stainless trim screws, so that
also slowed things down, but I hope it will keep them securely in
place.
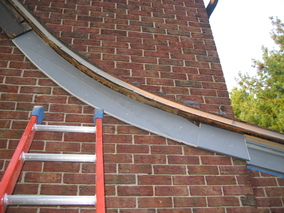
Once the joint is filled and painted, I think it will look pretty
good. The triangular spot that appears to be missing will be
completely covered with brick mould, so I don't plan to fill that
spot.
We've had some masonry restoration guys here all week and they've
started work on the chimney and some lentils. Here are some pictures
of the lentil work they've been doing.
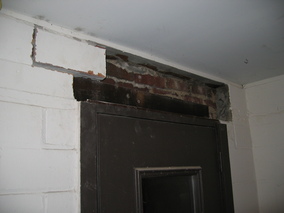

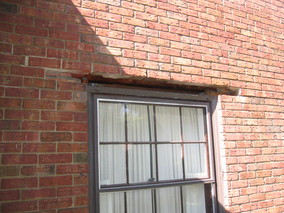
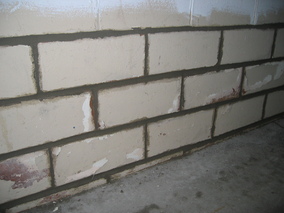
Here are before and after shots of the repointing work they did in the
garage.
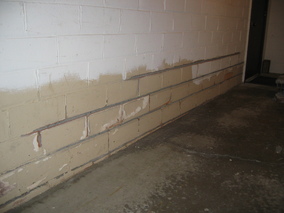
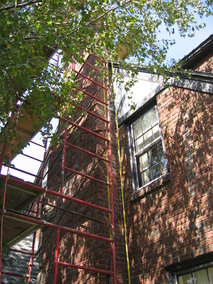
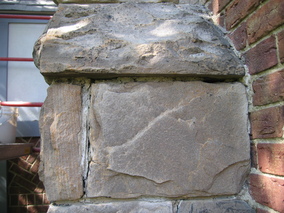
And here are some shots of the chimney scaffold and some of the joints
around the stones in the chimney.
I spent a few hours getting the maple-walnut border trim installed
around the fireplace hearth today.
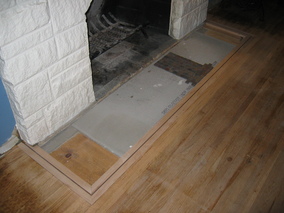
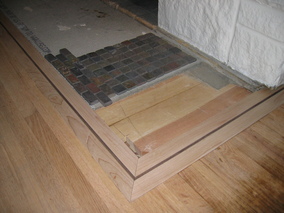
I'll install the rest of the cement board soon, then set the tile once
we refinish the living room floor.
garage.
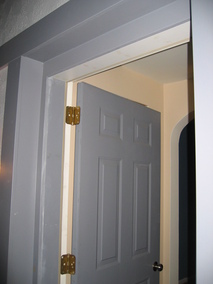
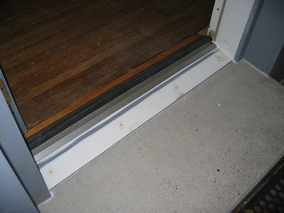
I also finally finished installing the rest of the Azek trim around
the front door, along with a new magnetic gasket. I even replaced the
exterior part of the threshold with Azek since the oak that I put in
last year was not holding up too well. I hope to get this all painted
soon.
The masonry restoration guys finished most of their work today,
including rebricking the opening that the PO cut into one of the
chimney flues to try to reuse as a return air duct(!?). Needless to
say, this did not work very well. They did attempt to plug the flue,
but they just did it by stuffing what looked like the top of a coffee
can up into the flue. When we opened it up, the plug was wet,
rusting, and about to fall out, so I pulled it out. Above the cap,
there were several inches of wet sand, then a plug about 6 inches
thick of the last N years of organic material that had fallen down the
flue. I worked it loose and it all headed for the bottom of
the flue that is open in the basement. Now I'll have to clean that
mess up. Yuck.
