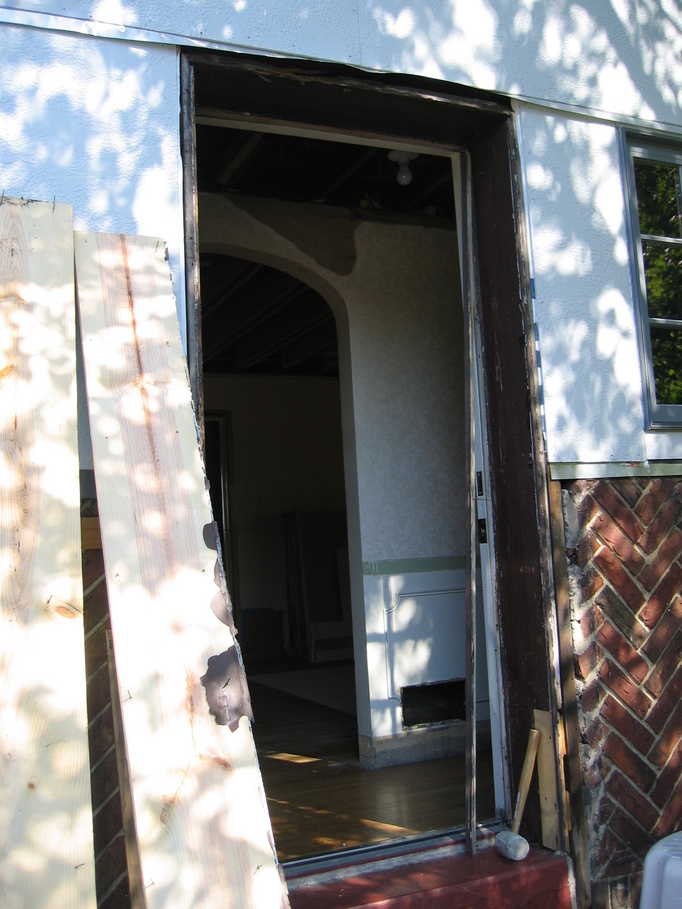
Today we started moving the entry door down an inch or so. It may be
a little hard to see in the picture, but because the threshold was on
top of an extra layer of wood flooring, it was about two inches high.
So we started by removing the trim boards. It was no surprise that
there was some rot behind these newer boards and that there had been a
previous attempt at repair.


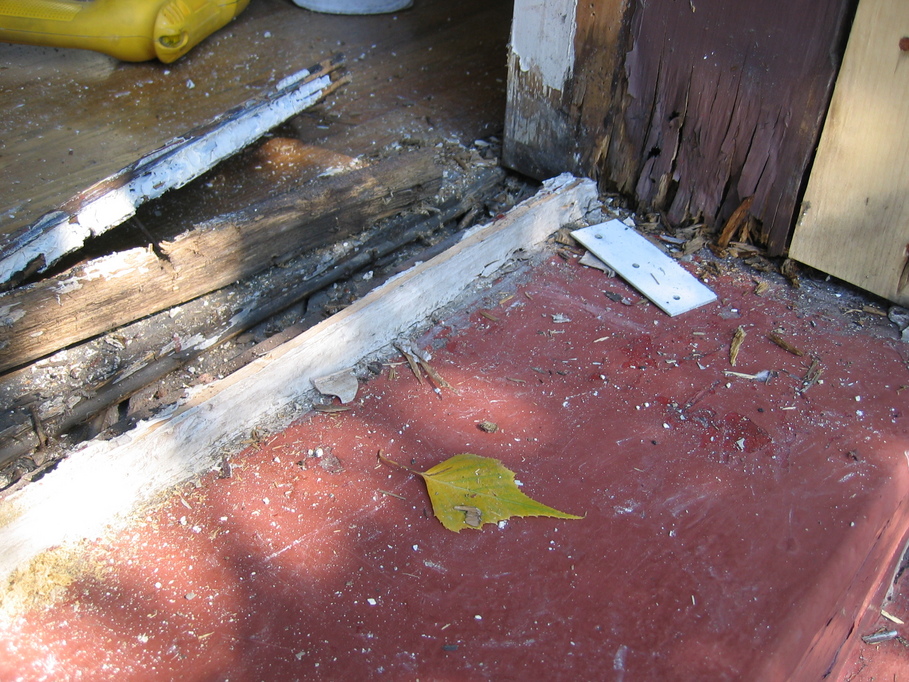
Once we had started, we just couldn't stop. The step was leaning back
and directing water toward the house. Although it has been pretty
well sealed with caulk for a while now, it was still bad that it was
collecting water. So we bashed it out. It turned out to be pretty
easy to do as it was already cracking and it was about the worst piece
of crumbling concrete I've seen (even for a porch step).
The concrete mortar
mixture under the hearth was harder to remove. It should also be no
surprise that we found more rot here.


It cleaned up reasonably well.


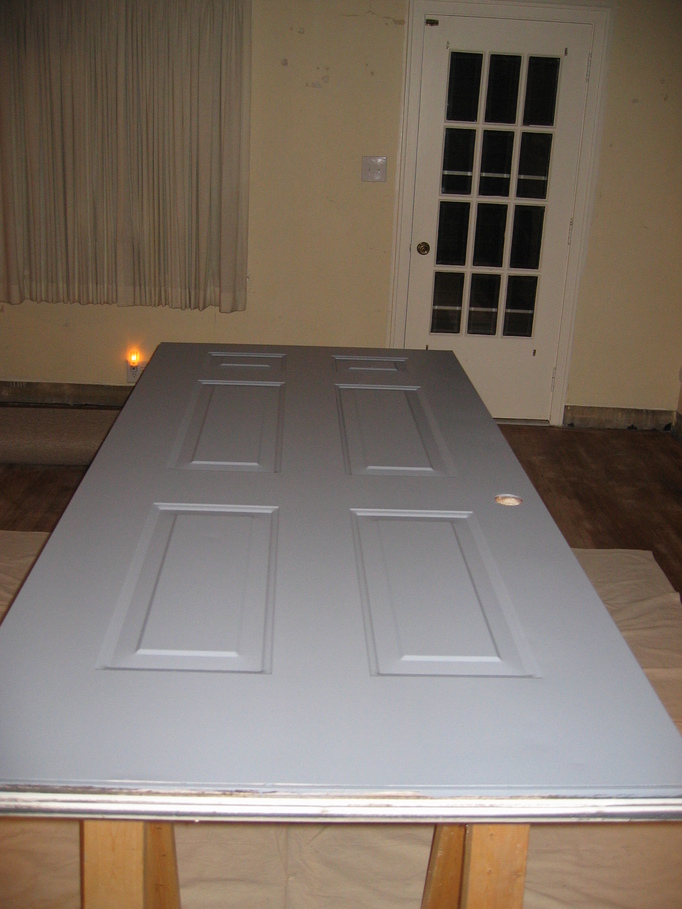
We had to plug the door opening with OSB for the night. When we
replace the door, it will be gray.


I took most of the day to get the front door installed again,
including installing some oak flooring right at the entry. Ugh, it
was a lot of work for what seems like a very small amount of
progress. Sorry, no pictures.
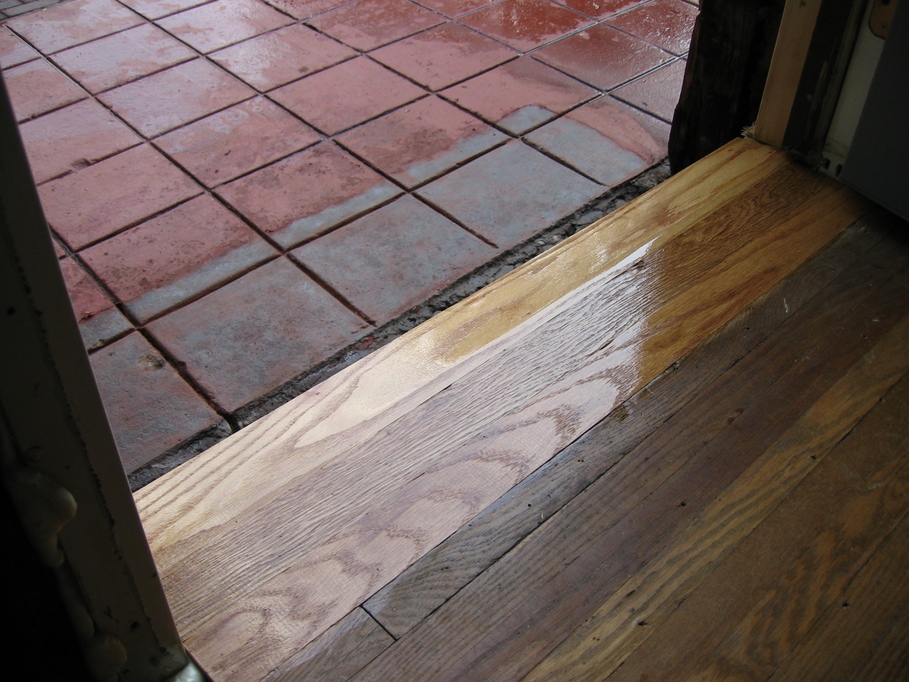
Here is what the entry looked like on Monday evening before I got the
form in place for the step. This is after about three coats of poly
on the new boards. We'll be refinishing the rest of the floor, but
this needed to be done now to avoid having bare wood exposed under the
threshold. I beveled the wider board on the outside at ten degrees so
it should not be trapping water there.
That more or less bare spot where the step will be is where I tried to
clean the paint off off the concrete. First I used a torch to burn
off as much as I could, then I used paint remover, a wire wheel on the
drill, more paint remover, and another pass with the wheel. I still
didn't get all the paint off, but it was pretty clean. Then I put
some concrete bonding goop on it before pouring the step. I don't
think it will go anywhere now. Probably it wouldn't have anyway, even
if I had left the paint on there. The step itself is pretty well
keyed in to the old porch by the house, and it will probably weigh at
least 300 pounds when it is cured. I hope I don't have to remove it
any time soon.

Here's the step just after it was poured and I had done some initial
surfacing. It took more time than I expected to get the forms set
because I kept looking at the level and wondering whether the forms
would result in a step that was sloped enough to shed water away from
the house, then deciding that maybe I should shave just a little more
off, then looking at the level, etc., lather, rinse, repeat. I
finally got something I liked. Or, I just didn't want to make another
trip back to the saw.
Filling the forms used a little more than three 80-pound bags of
Quikrete. I think that's about all I want to mix by hand if I can
possibly avoid it.

About an hour and a half later it was starting to set enough that I
could brush the surface with a broom. People may still slip and break
their necks on the other steps on our porch, but at least this step
will offer a bit more traction.

Here's a shot of the step just after taking the form off and
installing the threshold strip. I rubbed a little mortar mix on the
vertical surface of the step to try to fill in a few small voids and
to get a more uniform finish. I think it will work OK.

This is what the step looked like after about a day and a half, and
shows the new door color. Now we have to get busy on the trim work
before we run out of nice outdoor working weather.

While waiting for the outdoor temperature to rise high enough that I
would maybe feel like working outside, I decided to start trying to
rework the caulking around the tub in the master bathroom and maybe
fix the leak problem that we have, so we can go ahead with installing
the sheetrock on the living room ceiling. I was hoping that I could
just scrape the old caulk out, along with any grout that was in the
joint between the tiles and the top of the tub. But then the tiles
just started popping off. I suppose it is not all that surprising to
find that the tiles were just stuck to the sheetrock, and now the
paper, which has probably been wet for years, is pulling away from the
gypsum. Ugh. There never seem to be any quick and easy projects
around here.
Must resist urge to demo the whole bathroom…

Once it warmed up some, we also put another coat of paint on the
siding around the front entry.
It took some time to get these first four boards up, but I think they
are looking pretty good.

Unlike the side of the
garage, this roof is not exactly 45 degrees, but more like 50 (it
turns out that this is 14/12). So that is really steep, plus made it
a bit more of a challenge to cut the boards since we had to set the
saw at something other than 45.
If the weather is nice this coming weekend, I think we will be able to
get the rest of the boards around the entry way up. Then we just have
some filling and painting to do, and we can move on to the growing
list of indoor projects.
It took most of the day today to get trim around the door and we're
still not done with that part. To finish it, we need to get a
replacement for the worn-out magnetic weather stripping that we
currently have.

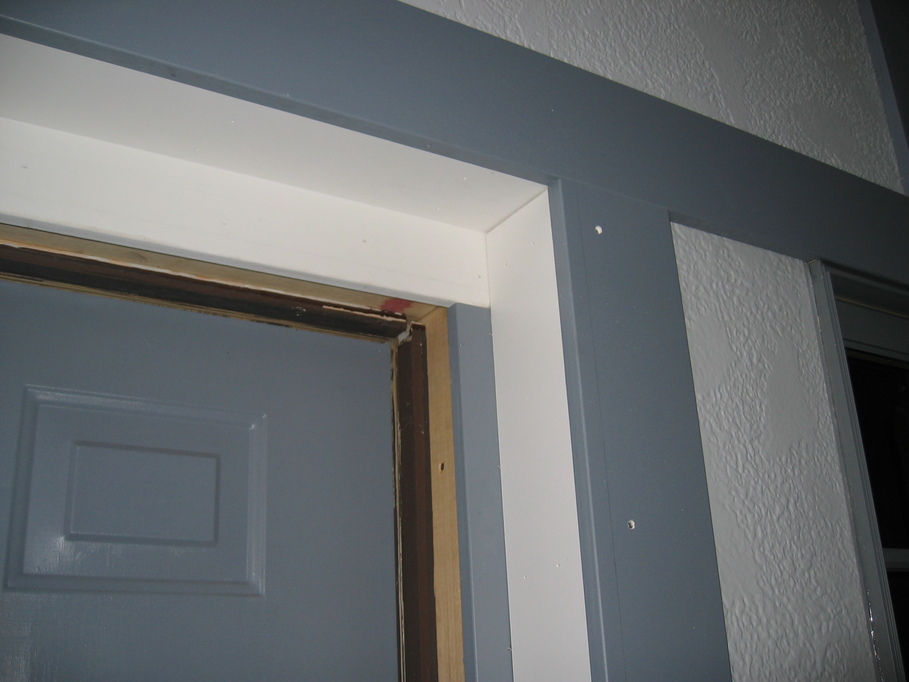
Here are some close-up shots of the trim in the doorway.


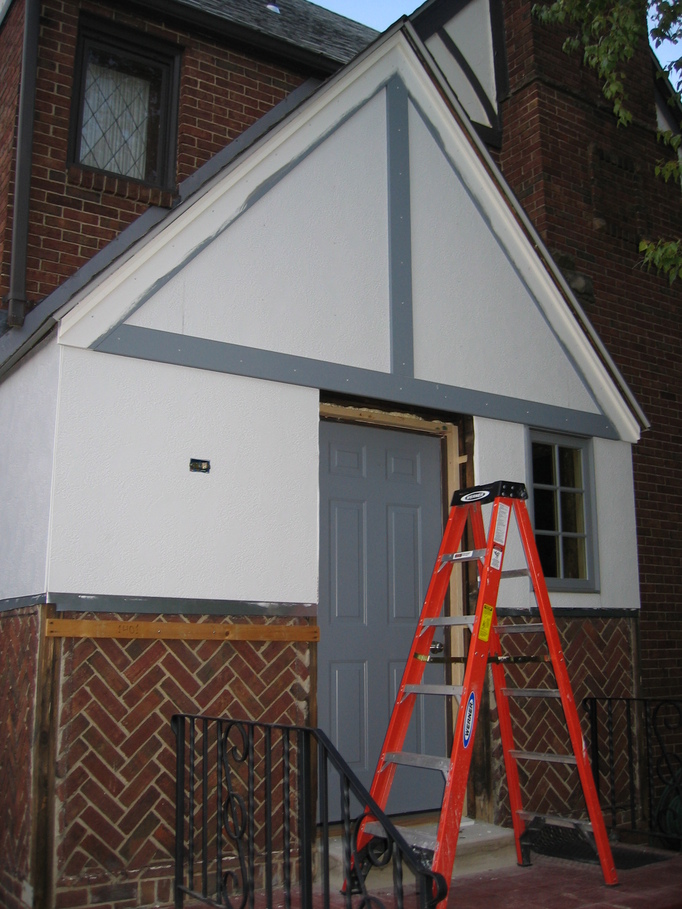
Today seemed more productive. We finished most of the trim that shows
from the street. We still have the side next to the chimney, two
vertical pieces on either side of the window, and the last bits of
trim around the door, but it is looking better.

I touched up most of the screw holes today.

I installed the trim around the window and on the side of the entry
way next to the chimney. The only tricky part was this spot around
one of the decorative stones. I tried to be patient and I think it
worked out OK.


Here's a shot from the front and one showing the side. There are
supposed to be a few nice days this week so I should be able to touch
up the paint.
Once we get the weather stripping for the door, we can finish the last
bit of trim, do a little more caulking, and then we can finally mark
this project off the list and move back to inside work.


After about two months, we finally have a doorbell and house numbers
again. It sure is nice to see those things back up.
I touched up the paint on the last of the trim today. I'll post
another picture when we finish the trim around the door.