I had planned to install some low-voltage boxes to terminate the
conduit we ran for cable tv, phone, and ethernet sometime back in
August, but ended up getting sidetracked by wallpaper in the master
bedroom.
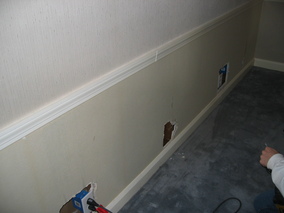
This paper is some kind of cloth material over a paper backing, and it
is really easy to remove. This first shot is just after I started
pulling the cloth layer off the wall below the chair rail. Since the
top layer comes off clean, no scoring step is required.
Oh well, even though it wasn't what I had planned to do, it's
really good to see this stuff go. About half of it is down and the
walls look good, so it should be fairly easy to patch the few holes
and paint.
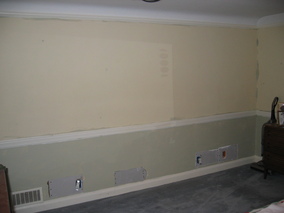
Today I got the boxes installed, so the conduit job is finished.
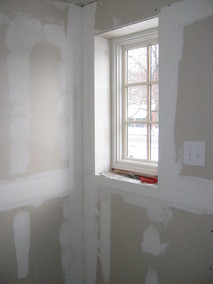
Here are the master bedroom walls with the paper removed and sheetrock
patches in the holes. These were mostly left over from early electical
work, which I had never patched. I don't think the funny splotches
and different colors on the wall are actually there. It must be some
shadow from the flash. Hmm.
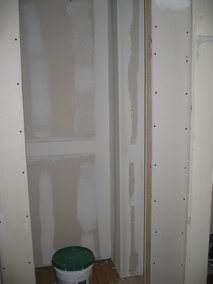
I started the taping job in the front entry and closet. There sure
are a lot of corners, and I'm not very fast with this job anyway, but
it is progress.
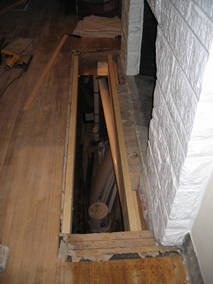
Today I started reframing the well in front of the fireplace. It's
only been about ten
months since I started the demo on this project. I decided to
remove the gas line from the fireplace and completely reframe the well
area to bring most of it up to the level of the living room subfloor.
Since the boards directly in front of the fireplace opening are
actually embedded in the wall under the floor of the firebox, I chose
to leave them in place, but shorter and supported by a 2x6 that spans
the opening. Then I sistered a 2x8 on to the 2x6 so that beyond those
boards, I have the right height for the subfloor. On the opposite
side of the opening I mounted a 2x4 cleat to support the new subfloor
across the opening.

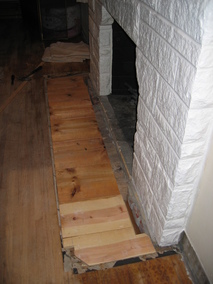
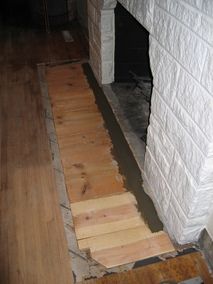
Today I poured about 50 pounds of concrete in the well that runs just
in front of the fireplace. The next step for this probject will be to
put a layer of cement board down, then tile.
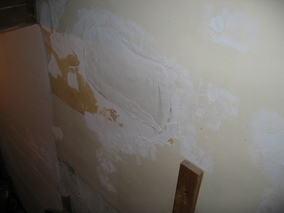
Next, I mixed up some setting joint compound and filled in some of the
larger gaps and holes in some of our many plaster repair projects. I
only have a picture of the one in the basement stair area. It will take some more work, but
it is nice to see this hole disappear.
Finally, we removed most of what was left of the the kitchen ceiling
and generated some demolition debris to fill the garbage can for a few
more weeks.
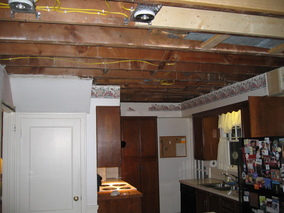
There is definitely some creative framing going on here. We also
discovered that a portion of the ceiling had already been pulled down
once and replaced with 5/8 sheetrock, possibly because of a water leak
in the bathroom above, or when the bathroom above was remodeled (the
connection to the tub drain and the water supply lines have been
modified). The original drain lines appear to be lead. And of course
we found some badly notched floor joists. Most of the joists under
the bathroom are just 2x6 as well, since the floor is tile, and like
the hearth, the
original builders apparently created a well and filled it with
concrete to provide a stable floor under the tile. So not only are
they small, they've been compromised by some plumbing hacks and they
have a relatively heavy concrete floor on top of them. At least the
span is only about seven feet. In the second picture, you can see the
original water supply lines that have been abandoned were apparently
installed on top of the joists just below the subfloor.


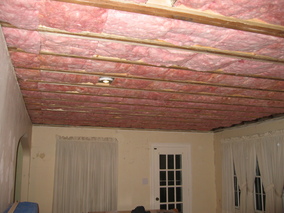
I spent some time putting insulation up in the living and dining room
ceilings over the last two evenings. I hope this will block some of
the noise from the second floor and also keep the floor somewhat
warmer if there is any cold air getting in to these joist spaces from
the exterior walls.
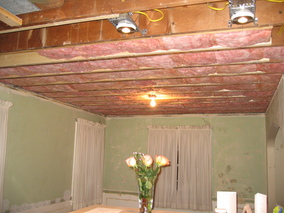
We also put up two more sister joists in the living room. They maybe
helped stiffen the floor a small amount. It's still not exactly rock
solid, but putting up these last two boards at least allows me to say
that I did all I could to keep the floor from being bouncy in the
master bedroom.
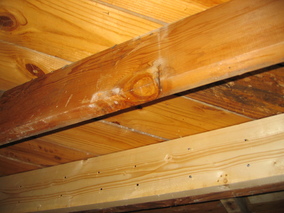
Today we put up two more sister joists in the kitchen ceiling and
added the rest of the insulation for the area where we will be
installing sheetrock this weekend. This picture shows the first board
up. The second picture is a close-up of the big knot at the bottom of
the board in front of that. We doubled that one as well.

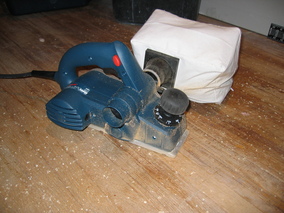
This handy new toy is a power planer. It worked great to shave off a
few of the low spots on some of the joists in the living room and
dining room.
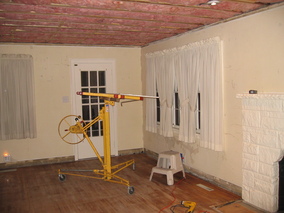
I picked up this lift from a rental place at around 5pm today and
started hanging sheetrock. Using the lift, I was able to do most of
the work myself and we had more than half of the living room covered
by around 11pm.

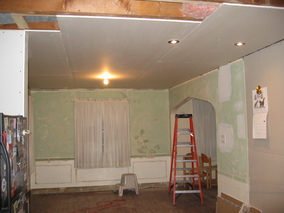
By 5pm Saturday, we had all but the last small corner by the stairs
done and I returned the lift. Not bad for a single day's rental
charge.

On Friday and Saturday, I just used enough screws (well, really more
than enough) to hang the panels on the ceiling. Today, I finished
filling in the rest of the screws in the dining room and then we
cleaned up. I'll finish the rest of the living room over the next
week or so. Then it will be time to move on to the excitement of tape
and joint compound!
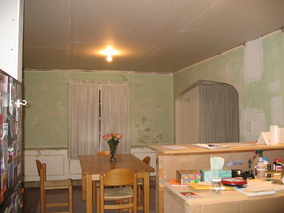
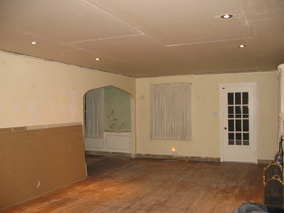
I finished filling in all the remaining screws in the living room this
evening, and put up the last two small pieces around the stairwell.
Matching the plaster here required a bit of shimming and it will
probably also require a fair amount of joint compound to make it look
right.
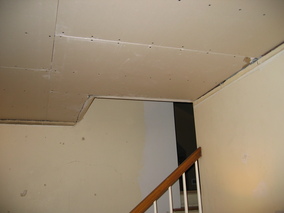
We taped the sheetrock joints on the living room ceiling. I used mesh
tape and setting compound on the butt joints and mesh and paper tape
with regular all-purpose compound on the tapered joints. Here's
hoping it doesn't crack.
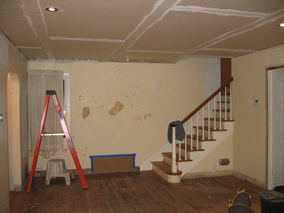
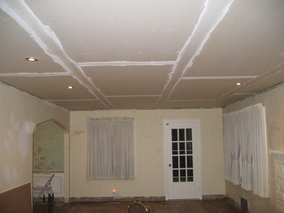
I also started fillling a hole above one of the windows where a big
chunk of plaster came loose and fell out. OK, so it took some help
from me to get it to actually fall out, but it was loose, so I'm sure
leaving it in would have caused some trouble in the future.
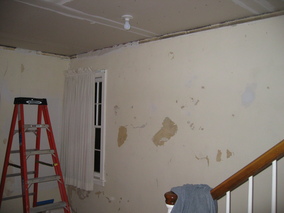
Today I used setting joint compound to fill the gap between the old
plaster walls and the new ceiling. Eventually I will put up some
corner reinforcement strips and all-purpose compound over these
cracks, but I think it will be better to have them mostly filled
first. That way, the layer of regular compound won't be too thick, so
shouldn't shrink and crack.
I also filled in more of the big hole over the window. That sucked up
a lot of material because the existing plaster there happened to be
fairly thick (at least an inch, maybe more).
Sorry, no pictures.
The first coat over all the screw heads is up, along with the second
coat on all the taped joints. Things are looking much better.
No matter how many times I do this chore, I think I will always be
amazed by how much it improves the appearance of a room when all the
screw heads are covered.

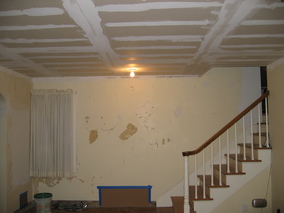
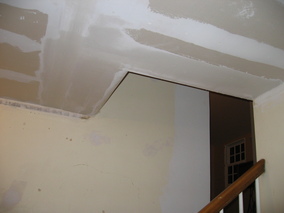
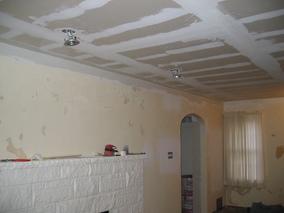
I've been making slow but fairly steady progress with the living room
ceiling. These pictures are after two coats on the seams and just
after getting the corners between the ceiling and walls up with the
first coat.

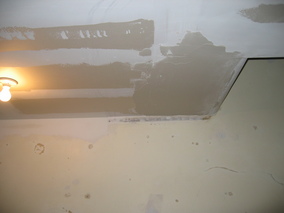
I also put up a lot more setting compound in the corner to try to
put a smoother taper on it so the difference between the existing
corner and the new drywall is not so noticeable.
We started to patch the cracks in the plaster in the second bedroom closet, but then
decided it would just be simpler to tear out the back wall and replace
it. When we did that, we found another hidden electrical box and some
galvanized drain line that was standing out from the studs (probably
the reason for the cracked plaster. I spent some time shimming the
studs and reframing, then discovered a small leak in the drain line,
so I decided to try to fix that before putting up the new sheetrock.
Ugh. Sorry, no pictures.
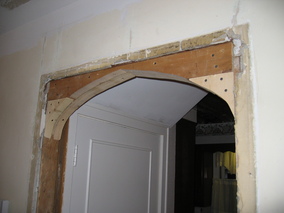
After the bad experience with the closet wall, I salvaged something
out of the day by framing the arch for the doorway between the living
room and kitchen. This is a sandwich made from some 7/16 OSB and 2x
scraps. It may need a little fine tuning before putting up the
sheetrock, but I think it should work OK.
