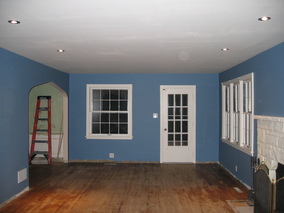
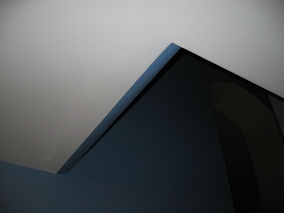
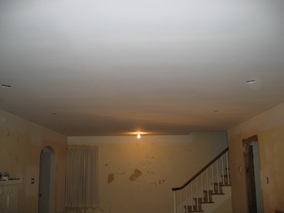
After a few more days of joint compound and sanding, here is what the
living room ceiling looks like. I think it's just about ready for
some primer.
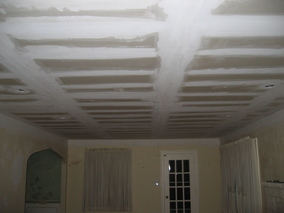
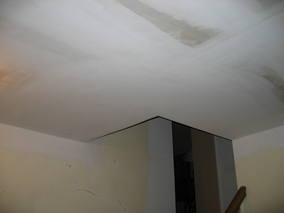
Primer!

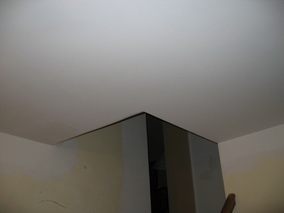
After getting the primer on the ceiling, I noticed a few minor
problems that should be fixed before painting the final ceiling color,
but it shouldn't take too much more effort, so I think we can get the
final color up this weekend.
We also picked up a gallon of the wall paint so we can test out the
color and see if it is really what we want. Maybe we can get a sample
of that up this weekend too.
Since we had some paint out, I slapped a little bit on the wall
alongside the basement stairs where we
patched the hole.
It's amazing how much better this looks with paint and without the
jagged gash that was there before.

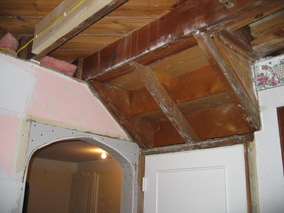
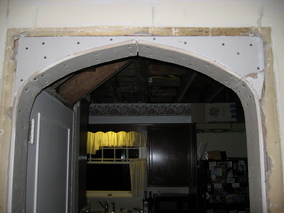
The plaster is off of the underside of the stairs in the kitchen
and there is some sheetrock on the arch. Just like the
other one in the doorway
to the den, this will take a bit of joint compound to make it pretty.
But this one is narrower, so maybe it will be easier.
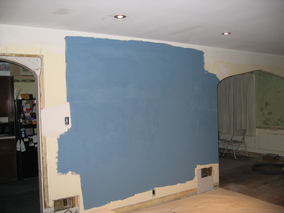
Next, I painted part of one of the living room walls to test out the
new color. It looks OK (better than in this picture, honest) so I
think we will go with it.
I also packed some of the big gaps in the archway sheetrock with some
setting joint compound.

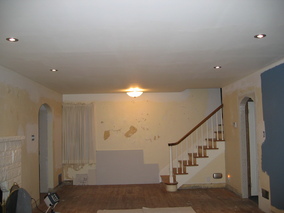
Finally, we put a coat of paint on the ceiling and put up the new
light fixture. Things are looking up.
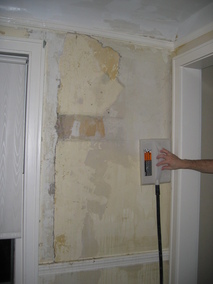
Today we removed the rest of the wallpaper in the master bedroom.
It's nice to have that stuff gone. We also discovered that there must
have been a closet in the corner. It seems obvious now, but I didn't
really think the closet was in this location. Apparently, one wall of
the closet was right up against the window. The stool of the window
is even trimmed off, but we had never noticed that before.
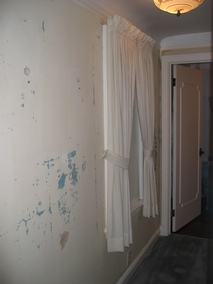
This evening, we removed the wallpaper from the exterior wall in the
hallway between the master bedroom and bath. I hesitate to remove the
paper from the wall on the opposite side of the hallway as that wall
was added and is sheetrock, not plaster.
It was over 60F today, so I caulked some of the trim boards around the
front entry. I meant to do that when we installed the trim around the
front door, but then the weather turned cold. I really didn't expect
to have much of a chance to do this job until maybe March!
I spent most of the day patching holes in the walls in the living
room, including patching two old air vent holes in exterior walls.
Since these walls are ceramic brick and not wood frame, it is a bit
tricky to get some framing installed solidly enough to hang sheetrock
on. But I finally managed to get something acceptable done. Here's a
shot of the large hole at the bottom of the stairs before I covered it
up for the first time.
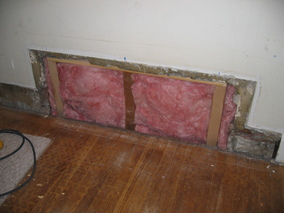
Yes, I put the sheetrock on more than once because after doing it the
first time, it occurred to me that I should probably put an electrical
outlet in this space. The second time I put the sheetrock on, after
installing the electrical box, I forgot to put the insulation back
in. I finally got it right after three tries.

I also put an outlet in the wall adjacent to this by the front entry
and patched that hole.

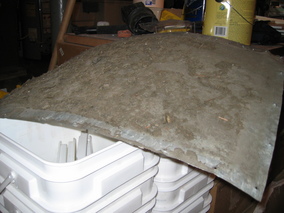
To remove the old metal duct and patch the other hole in the exterior
wall required removing some of the sheet metal attached between the
floor joists in the basement that formed a return air duct. Here's
what that looked like. It may not be clear from the picture just how
much dust and nastiness was in this duct, but I'm sure it wasn't good
to have the air in the house circulating over this all the time.
Yuck.
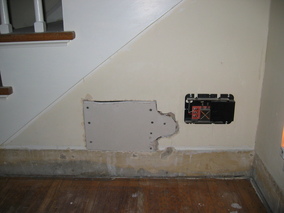
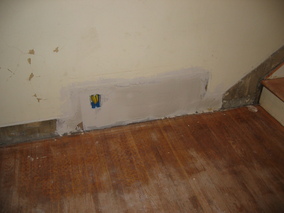
I made more progress on the living room wall patches today, removing
another old electrical box, covering two more holes, and putting the
first coat of setting joint compound in all the large gaps.
Then with that small success, I decided to try to see what I could do
about the ugly trim board running up the first flight of stairs to the
landing (destroy it), and maybe also find out if it would be easy, or even
possible, to get some insulation under the cold step in the doorway to
the den (nope).
The reason I started messing with the trim board was that it had long
ago pulled away from the wall. The PO had applied some small
quarter-round trim to the top of it to try to hide that, but the joint
between that and the original trim board was cracking and just plain
ugly.
I thought maybe the big trim board could be pulled out without
removing the stairs, but there is no way to do it because the stair
treads (and possibly the risers too) are set into dados in the trim
board. So to get the trim board off requires disassembling the
stairs. Of course I didn't fully understand this until after I had
already started prying on the board, pulling it farther from the
wall (with some bits of plaster falling behind it so there was really
no way for it to go back) and, most unfortunately, cracking it in the
process.
Well, once it was cracked (but still before I fully understood the
method of installation) I decided to try to get it out in pieces.
Little did I know that even that would not be possible. So here is
what we have now.
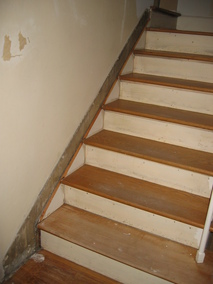

As you can see in these pictures, the first step (the show step, the
one with the rounded end that sticks out into the living room) is not
in very good shape (it's split and there are gaps between the back of
the stair tread and the riser), and that was bugging me anyway. So I
guess now that we'll be pulling the stairs apart to fix the trim
board, we might as well replace it.
After that setback, I was not too happy, but we did manage to get the
sheetrock up in the second bedroom closet. So maybe it was really two
small steps forward and one big step back.
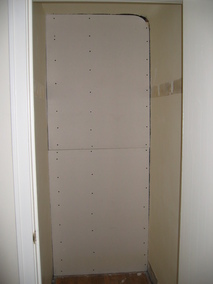
Finally, I also got a little more joint compound up in the front entry
way before calling it a day.
I spent some time earlier in the week and today working on the living
room and entry walls. We are getting closer to being able to prime
and paint at least some of them.
I also took some time to clean up the basement. There was just too
much junk accumulating, and it was starting to be hard to just
navigate down there. Ugh. Must resolve to keep things neater as we
go.
The living room walls by the stairs and front entry are all sanded and
just about ready to prime, as are the walls in the entry way and entry
closet.
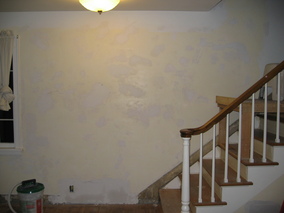
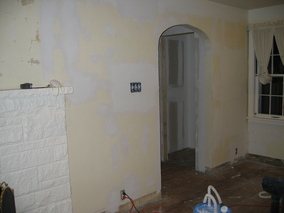
I also tacked up the flexible corner bead on the arch between the
living room and kitchen and put up the first layer of setting joint
compound.


Finally, I spent some more time cutting up scrap lumber in the
basement and stacking it for firewood. Sorry, no before pictures,
you'll just have to take my word for it when I say it was a real
mess.
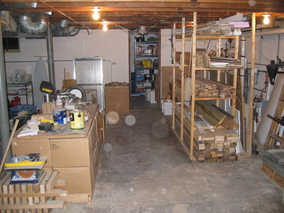
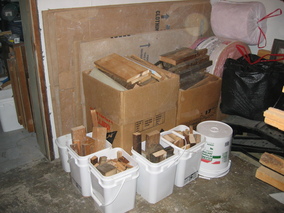
And that's not all of it. I have another 4.5 cubic foot moving box
full of cut up scraps. We may use some of the wood in the rack for
projects, but whatever we don't use we will probably burn. Is that
greenhouse gas unfriendly? Oops, my bad.
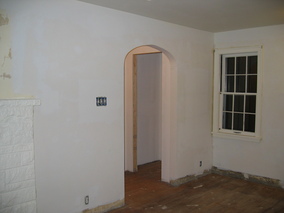
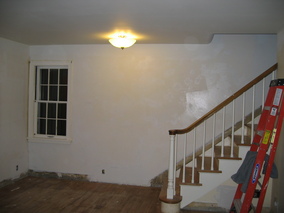
I put a primer coat on the living room walls by the stairs and front
entry, and also in the entry way and entry closet. I thought about
waiting to prime until I had all the walls in the living room sanded
and filled, but then I decided I needed a break from that and I also
wanted to see some more dramatic progress. I know that the rest of
the walls in the room still need to be sanded and patched before we
can be finished in here, but putting paint on the walls feels a lot
better than doing more of that. So I got the roller and brush out and
painted.
While taking a break from the living room walls, I happened to look
outside, saw that the back yard was mostly free of snow and ice, and
remembered to get a picture. So here it is, nicely displaying an
upcoming Spring project. The pretty green grass around the outside of
the yard is what I planted last year (a mixture of bluegrass and
perennial rye). The brownish grass in the center is the old grass
that I didn't replace (fescue? I don't know, but definitely an ugly
mess). The funny thing is that when the other parts of the yard
succumbed to bugs and drought, this portion was the best looking part
of the yard. Not so now. I don't think it is dead (yet; I'll take
care of that in a few months) but I really hate the way that it is so
different from the rest of the yard. And in addition to just looking
bad, the ground under it is also really uneven and hard (even in the
summer). Given all the other things we have to do around here, maybe
I shouldn't take time away from more pressing projects to tear out
live grass, but I just really want to see that ugly stuff replaced by
something nicer that matches the rest of the yard.

Color!
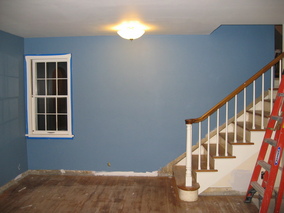
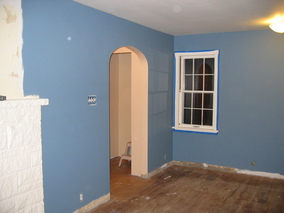
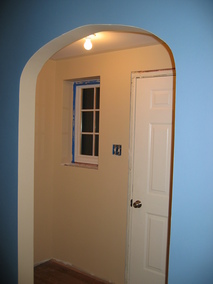
I think these colors are going to work OK. It is certainly a big
change from the wallpaper we inherited from the PO.
Now all we have to do is sand and patch the other 2/3 of the room so
we can finish painting.
I did some more work on the living room walls Friday, Saturday, and
today, along with putting the second coat of paint on the entry walls.
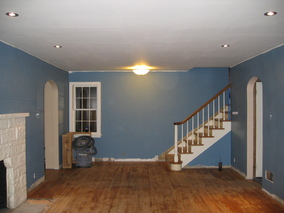
After lots of sanding, spreading joint compound, and more sanding, we
finally have color on all the walls in the living room.
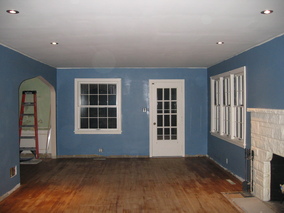
We also spent some time cleaning the dust and globs of joint compound
off of the floor. I'm glad we did, as it looks so much better.
Here is the living room again, today, after a little more work.
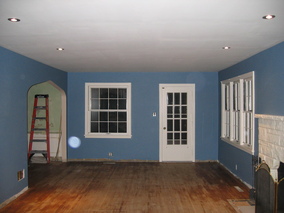
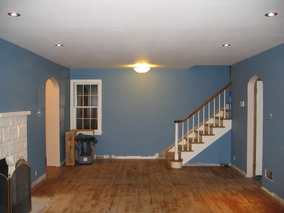
What's different, you ask? And no, it's not that I moved the
fireplace screen back in front of the fireplace. Nope, it's that now
have a nice crisp line between the walls and ceiling all the way
around the room (and in the entry way). I'll put one more coat of
paint on the walls and ceiling in the next few days and we'll be done
with paint in here for a while.
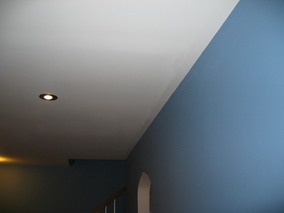
I put a second coat of paint on the living room ceiling today. After
it dried, some spots showed up that are not very even. I'm not sure
what I'm going to do about that. Am I not using enough paint? Too
much? Just not getting the coverage even enough? Ugh.
We put a second coat of paint on the living room walls. Once it was
dry, I put the outlet and switch covers back on, and reinstalled the
entry way light fixture.
I installed the return air vent covers and wired the last two outlets
in the living room. There's not much left to do until we start
installing trim, which is something I think we can wait on for a
while, probably not until we refinish the floors, and that is unlikely
to happen until we get some more work done of other rooms in the
house.
Here are two more shots of the room, and one of the line I painted
between the ceiling and wall colors in the stairway. I guess things
are starting to look better, though there is still a lot of
work to do.
